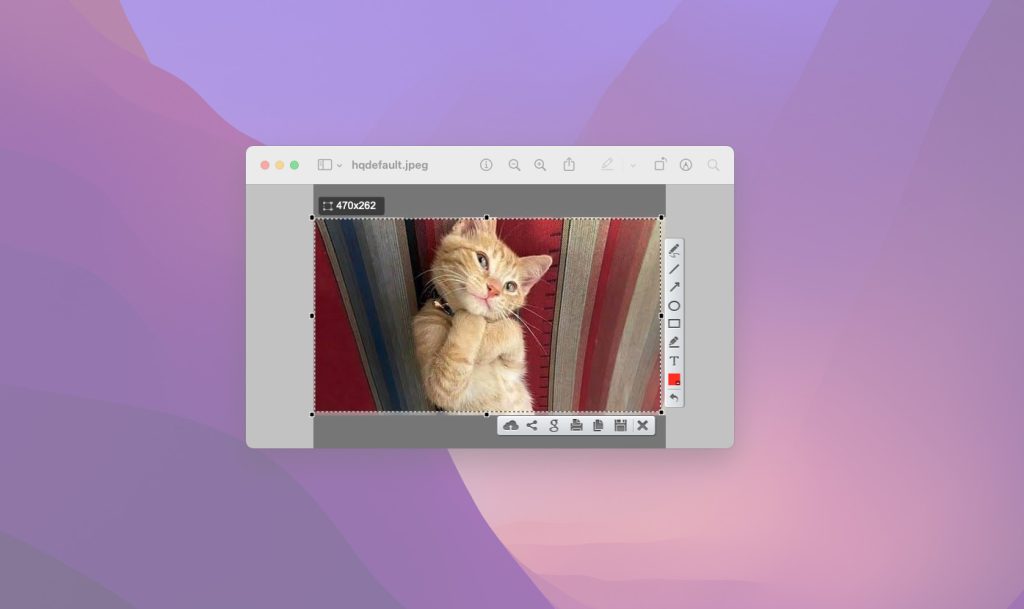
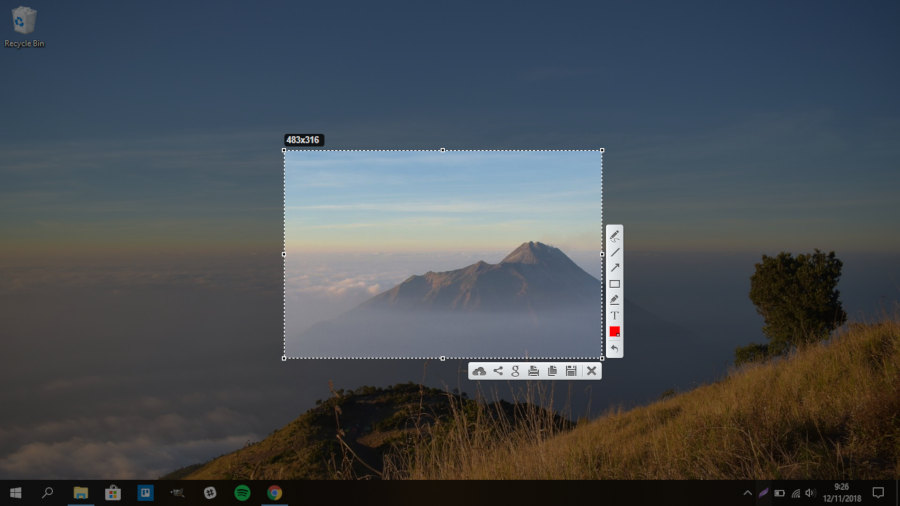
With the rapid advancement of technology, taking screenshots has become an integral part of our digital lives. Whether you are an entrepreneur, a student, a professional, or even a casual computer user, knowing how to take a screenshot on your Windows PC or MAC can be beneficial for many reasons. This guide will walk you through the steps on how to take a screenshot on Windows and Mac PCs using the TSOP tool. This is a free download that simplifies the process, making it easy to capture, save, and share screenshots.


Understanding the TSOP Tool
The TSOP tool, also known as Take Screenshot On PC, is a versatile and user-friendly application that’s designed to assist you in capturing screenshots on your Windows PC and MAC. It is a free download that you can easily find online. The TSOP tool offers several features that are not typically found in the built-in screenshot functions of Windows or MAC, making it a preferred choice.
How to Download and Install the TSOP Tool
Before diving into how to take a screenshot on PC using the TSOP tool, it is essential to know where you can get this handy application. Simply search for the TSOP tool online, and you should find several sites offering a free download. Ensure you download it from a reputable source to avoid malware or viruses.
Once you have downloaded the TSOP tool, follow the on-screen instructions to install it on your system. The installation process is straightforward and should take only a few minutes.
How to take a screenshot on Windows using the TSOP Tool
- Open the TSOP tool: Once you have installed the application, locate it on your computer and open it.
- Select the desired option: The TSOP tool offers several options such as ‘Capture Full Screen’, ‘Capture Active Window’, and ‘Capture Selected Area’. Choose the one that suits your needs.
- Take the screenshot: After selecting the appropriate option, click on the ‘Take Screenshot’ button. The screenshot will be captured according to your selected choice.
- Save the screenshot: Once the screenshot is captured, it will automatically be saved in your designated folder. You can change this location in the settings if you wish.
How to take a screenshot on MAC using the TSOP Tool
The process of taking a screenshot on MAC using the TSOP tool is quite similar to the Windows process.
- Open the TSOP tool: Find the TSOP tool on your MAC and open it.
- Choose the right option: Just like with Windows, the tool presents you with options like ‘Capture Full Screen’, ‘Capture Active Window’, and ‘Capture Selected Area’. Decide on the one that fits your requirement.
- Capture the screenshot: Once you’ve selected the option, click on ‘Take a Screenshot’. The application will then capture your screenshot as per your chosen option.
- Save your screenshot: The captured screenshot will be automatically saved in a pre-designated folder on your MAC. If you want to change this location, you can do so in the settings.
System Requirements and Compatibility
- File Size: The size of the program is 2MB. This compact size ensures that it doesn’t consume too much space on your device, making it convenient for users with limited storage space.
- Memory Usage: The program operates with a low memory usage of 2MB of RAM. This makes the program suitable for use on devices with even minimal RAM capacity, ensuring smooth operation without impacting the performance of other running programs or operations.
- Compatible with both 64&32 bit Windows 11, Windows 10, Windows 8, Windows 7, MAC OS Sonoma, MAC OS Ventura, MAC OS Monterey, MAC OS Catalina and MAC OS Mojave.
Conclusion
Knowing how to take a screenshot on Windows PC or MAC using the TSOP tool is a valuable skill that can save you time and make your digital tasks easier. By following these simple steps, you can easily capture and save screenshots, whether for work, school projects, or personal use. Remember, the TSOP tool is a free download and a reliable tool that simplifies the screenshot process considerably, making it a must-have in your digital toolbox.